IMPORTANT NOTE: This content is no longer being actively updated and has been transitioned to the MIT.nano Facility Users site. Please go there for up to date and additional information.
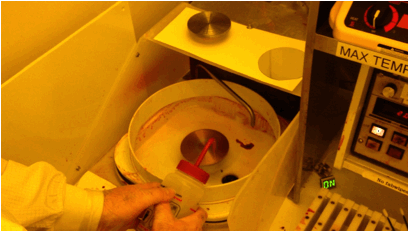
Wafer is continually spinning until removed from chuck Using dispense cycle only AZ 4620(setting 3) set dispense time to 99.9 sec.
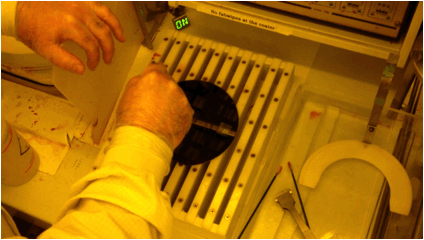
Load dummy wafer into coater. Dynamic dispense 2000rpm until wafer is covered.
Turn off resist dispense and wait a few seconds
Use acetone spray bottle to remove resist from mount wafer leaving a spot a little larger than 1 inch diameter at the center.
Return dispense nozzle to over wafer a half inch from center dot. Turn on dispense and spread .
Turn off dispense and wait a few seconds. Spray Acetone slowly, starting at the edge of the wafer and working in until only a 1.5cm wide “band” of photoresist remains of the second dispense.
Return dispense nozzle to over wafer a half inch from first “band”. Turn on dispense and spread.
Spray Acetone on a swab and wipe a 2 cm wide “vent slot” through the two bands of photoresist, leaving the center circle untouched. Repeat this to create a total of 2-4 “vent slots” coming from the center in a cross pattern.
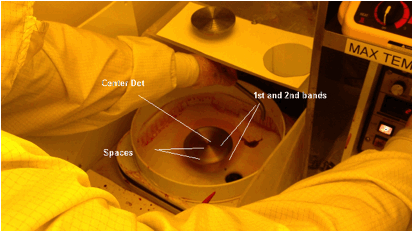
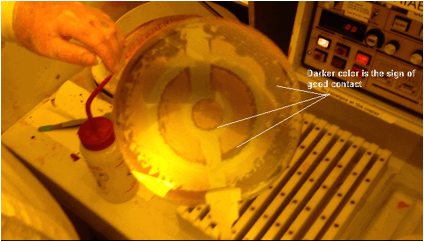
The mount dummy should look like the image below (red = resist, silver = wafer).
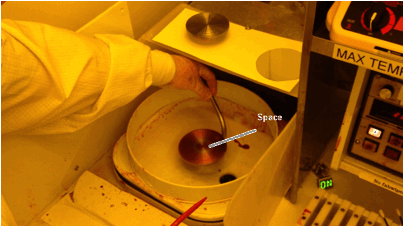
Using double-gloves or tweezers, carefully place your real wafer on top of the target mount dummy. Be sure to press down areas around the wafer to ensure good contact.
Load target mounted wafer into pre-bake oven (95C) for 30 minutes to hard bake the photoresist.
After baking and the wafer cas coold wipe the backside of the mount wafer with a fabwipe that has Methanol on it.
 .
.